Date Night Craft Night
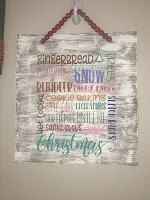
Looking for something fun to stay in and do with your sweetie? What about a craft night? Over on my Facebook page , the group Date Night Craft Night will run through February 27. It's going to be so much fun! I attempted to post a video to introduce it, but Facebook didn't like me promoting something through my page. You may see it come through as an AD, but here it is. Want the details? Message me on the Facebook page that you want to join and what you think you'd like to make. $15 covers both people (you and your hubby, boyfriend, bestie, co-worker, whoever). My other events will be priced per person, so this is kind of an introductory special - BOGO. This also gets you a sample project from me! Something you can make using a Magnolia stencil to practice. Then you and your crafty cohort will ask to join the group, and answer the question. Once paid, you will have access to the page. I will post ideas and resources for you to choose your project. The sky's the limit...